How to Connect Payment Processor to Your Prepped Account
Introduction
In this video, I’ll guide you through connecting a payment processor to your Prepped account, specifically using Stripe.
Steps to Connect Your Payment Processor
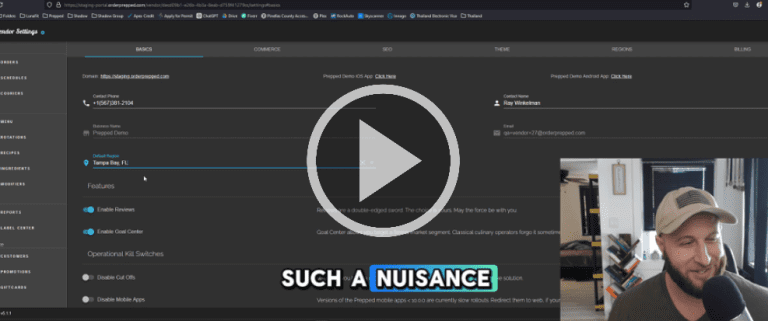
Access the Settings:
- If it’s your first time logging in, you’ll see a red banner prompting you to configure a payment provider. Click on that.
- Alternatively, you can access settings by clicking the cog icon in the top right corner.
Choose Your Payment Processor:
- Select Stripe. Note that we’ll be adding more options in the future.
Begin the Application:
- Click on Begin Application. This will redirect you to the Stripe website.
Complete the Stripe Form:
- Fill out the necessary information. Make sure to complete the entire form; if you exit, the connection won’t be established.
- After filling out your details, click Next as prompted, until you reach the end of the form.
Return to Prepped:
- Once you’ve submitted the form on Stripe, you’ll be redirected back to the Prepped portal.
- You should see a green notification indicating that Stripe has been connected successfully.
Verify the Connection:
- Refresh the page to confirm that the connection is active. A big green banner will appear confirming it.
Important Notes
- The Stripe application may require detailed information about your business, such as your LLC or corporation details, SSN or EIN, and your operating address. Ensure you have this information ready.
- Connecting your payment processor is the only barrier to starting your sales on Prepped. Once connected, you can head to the menu page and begin building out your offerings.
Conclusion
That’s all for now! Once your payment processor is connected, you’re ready to start selling. If you have any questions, feel free to reach out. Take care!

